I love to incorporate that into my daily life and that includes scrapping when possible.
Today I wanted to do a tutorial on how to redecorate a picture frame. In this tutorial I am working with a ceramic tile frame that did not match my décor. The techniques shown here can be used on most kinds of frames. The supplies you will need are: a sheet of digital paper you wish to use, razor knife and cutting mat, and a good type of multi- purpose glue. Also- have handy a few things to decorate your frame with once it’s recovered.
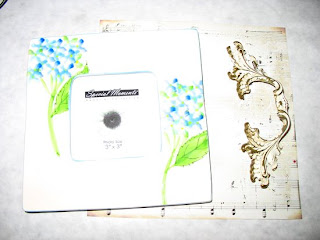
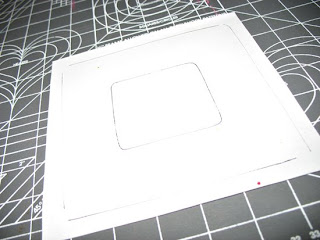
Now, let’s get started. First we will need to remove the glass from the center of the frame. Just set that aside until the project is complete. Next, lay your printed paper face down on your cutting mat. With a pen or pencil, trace the opening for the photo on your printed paper. This will outline our workspace in the next step.
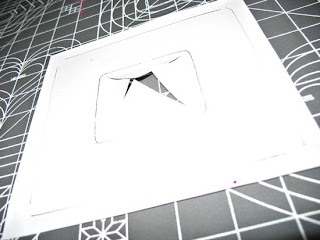
Here’s where we use the razor knife. Working within the box you’ve drawn, cut on “X” as shown in the center. *Note: the overhang of the outside edges should be slightly longer than the depth of your frame. You should have enough to cover the depth and wrap around to the backside of your frame.
The technique should work with any square or rectangular shaped frame.
Now we will apply glue to the face of your frame and then lay it centered on your printed paper. It is important to take a few minutes to smooth out the air bubbles that may form. The most difficult steps are behind us.
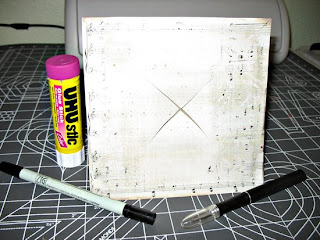
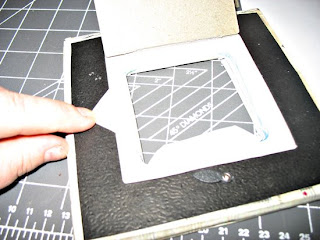
Let’s glue the flaps down (inner and outer) to the backside of the frame and trim.
And here’s a front view of the project.
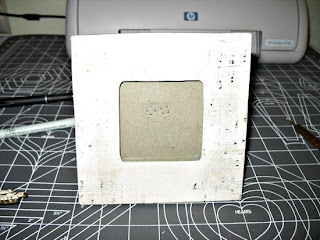
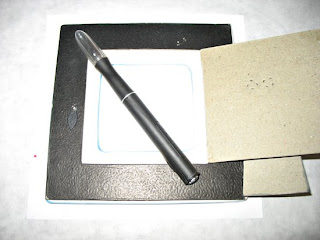
As we finish up you will notice that your frame’s really taking shape. Now it’s time to decorate. For the example shown, I wanted a shabby chic look. I chose to accent with a gold leafing pen and attach an antique drawer pull with a couple of glue dots. Those were things I had left over from another project.
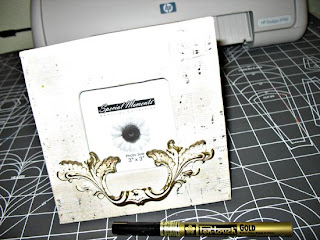
And here’s how the project turned out.
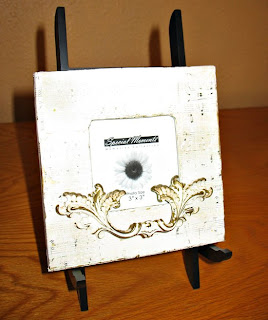
I hope this inspires you to reuse an old frame or customize a new one. It’s fun, easy, and great to personalize. Add a name or sentiment and it would make a perfect gift too.